Session Editing
NOTE: Editing a Session requires use of the CNDA Modify Session Form.
Instructions
Editing Project, Subject or Session Labels
- To access the Modify Session form, open a Session.
- Click Edit in the Actions box.
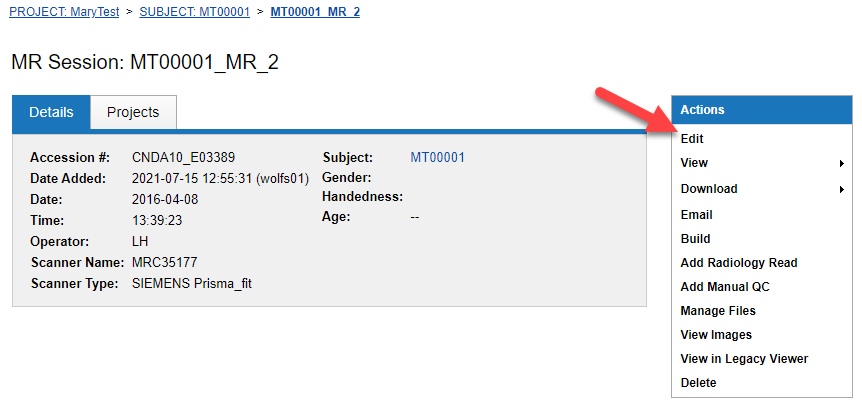
- To edit Project, Subject or Session label click the pencil and paper icon next to the desired field.

- Based on selection, one of the following dialog boxes will appear.

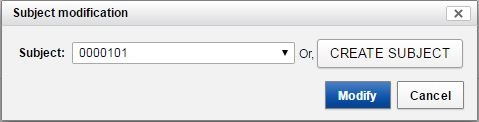
Use the selection box to select something already in the CNDA.
For Specific Modifications see below. (Note: User must have Owner access to the current project and Member access to the project to be moved to.)
a. For Project:
- Choose the project to be moved to.
- Click Modify.
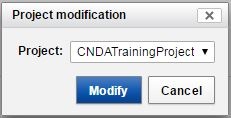
- Select any assessors that need to be moved.
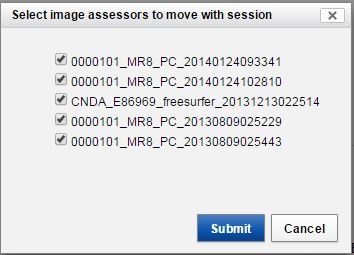
- Click Submit.
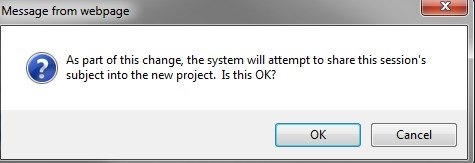
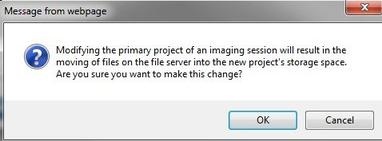
- An alert box will appear. You may see one or two of them as shown below.
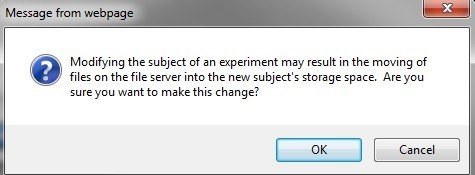
b. For Subject:
- Click the Create Subject button to make a new subject.
- A new window will appear. Fill in the information on the form.
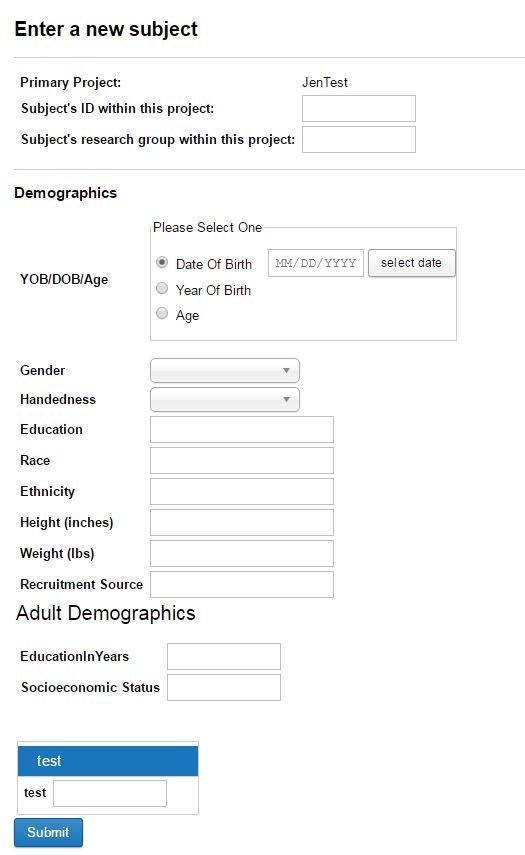
- Click Submit.
- An alert box will appear as shown below.
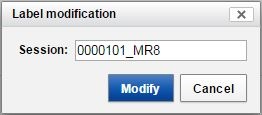
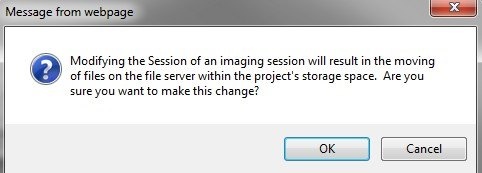
c. For Label:
- Type in the new label.
- Click Modify.
- An alert box will appear as shown below.
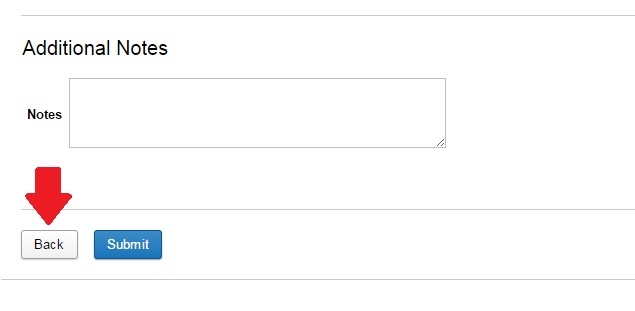
- When complete, you will be returned to the Modify Session form.
- DO NOT hit submit.
- Click the Back button at the bottom of the form.
Editing Date, Visit ID and Other Fields
- Click inside the text box and type in the changes.
- Click the drop-down box and select from the list.
- Click Submit when editing is complete.
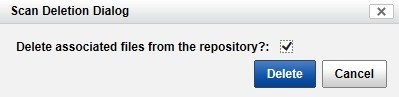
Removing Scans
- Go to the scans section on the Modify Session form.
- Click the scissors icon to the left of the scan to be removed.
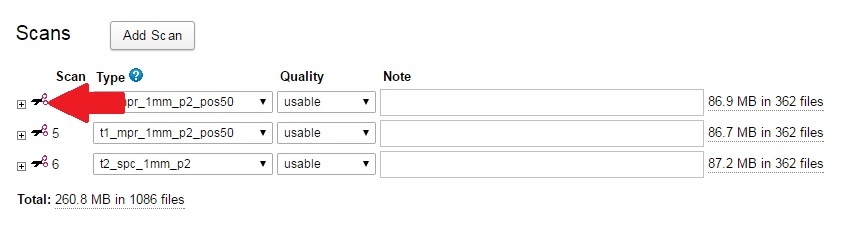
- Click Delete in the dialog box that appears.
- Click Submit.